Appendix B: Working with Strype - Tips and tricks
B.1. Display options
Pane layout
Strype offers four different layout options. These will determine how the text console and graphics world are displayed in the interface.
By default, the graphics and text output areas are displayed in a tabbed pane, allowing viewing of one of them at a time. Using the other options, these two output areas may be displayed at the same time.
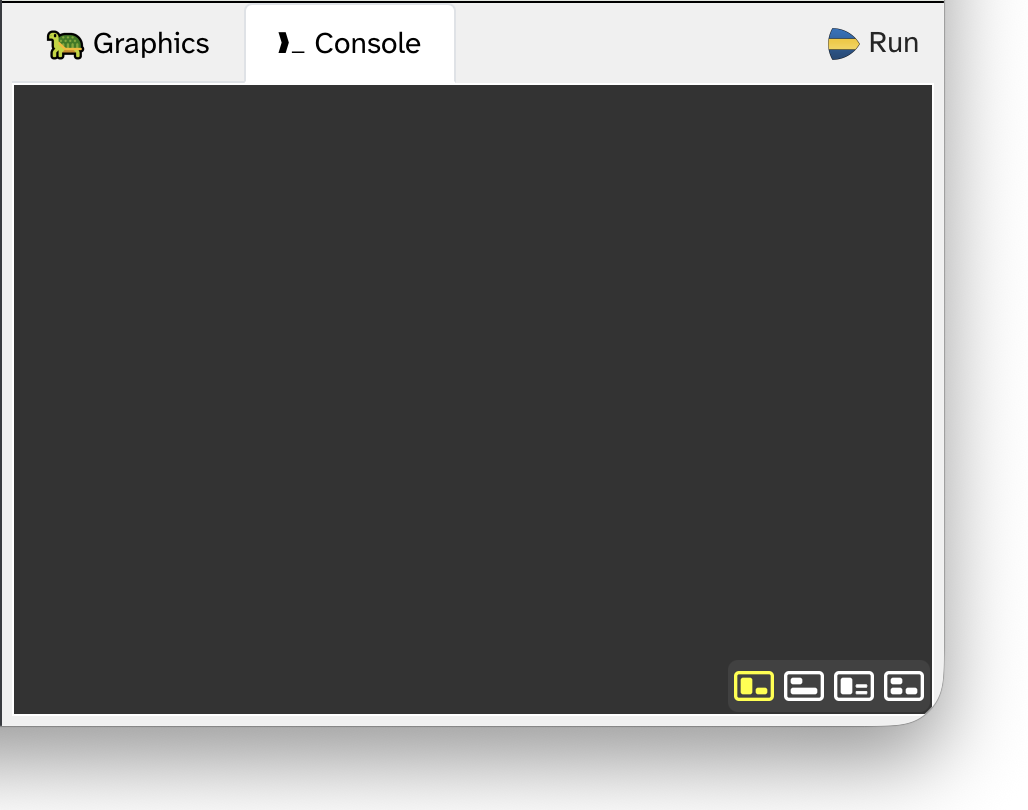
The options can be selected using the icons in the bottom right corner of the main Strype window (Figure B.1). Note that the icons are only visible when hovering over the output area.
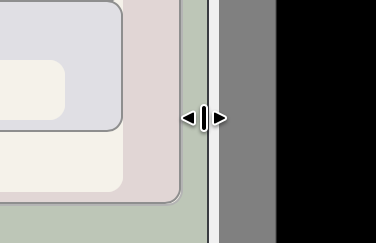
The size of the output areas can be adjusted by dragging the horizontal or vertical divider line around the console (Figure B.2).
The interface layout is saved with the project. When saving and sharing a project, the interface will be restored to the same arrangement as it was when the project was saved.
Folding functions and classes
Functions may be folded in to streamline how they are displayed in the editor. This is achieved by using the folding control in the top right of the function frame (Figure B.3). Note that this control is only visible when the mouse hovers over the frame, or when the function is folded.

Folding a function cycles through three states:
-
All code
-
Header only
-
Header and comment
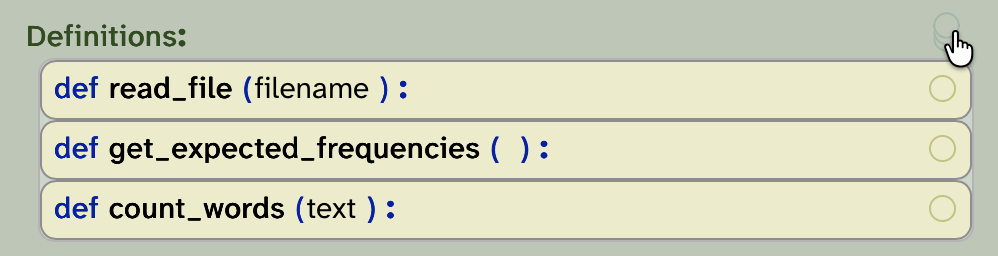
A global folding control is available at the top of the definitions area (Figure B.4). Using thsi control, all functions can be folded into the same state.
In addition to folding of functions, folding a=is also available for classes (Figure B.5).
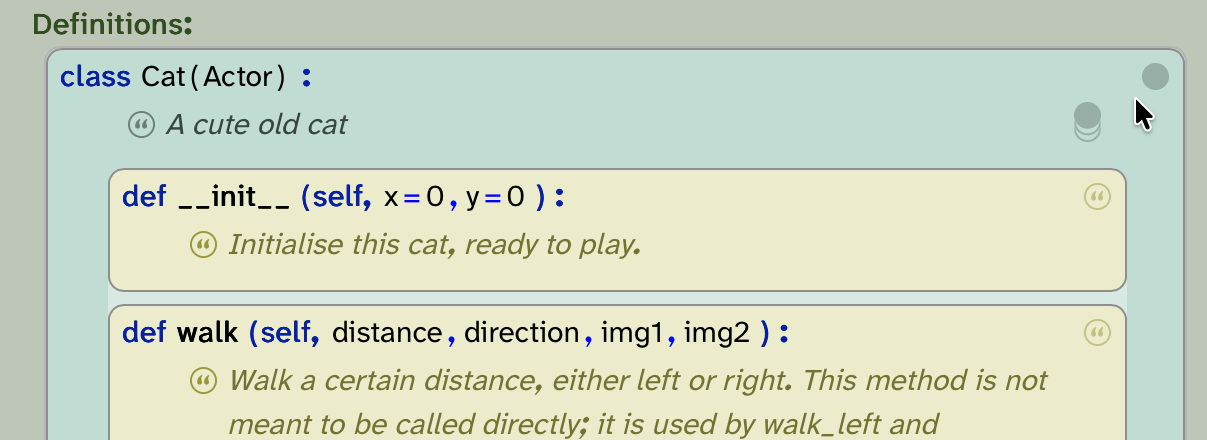
For classes, two folding controls are available: one for folding all methods within the class, and one for folding the class itself. By making good use of these options, classes can be either entirely collapsed, or they can be displayed with a listing of their method headers (with or without documentation). The nest way to understand these options is to try them out.
Making good use of Strype’s folding functions can help navigating a project and concentrating on the segments of code currently under construction.
Freezing functions and classes
In addition to folding, functions and classes can be frozen. Freezing is available via the right-click context menu. When a function of class frame is frozen, it is displayed with a small snowflake icon in its top right corner (Figure B.6).
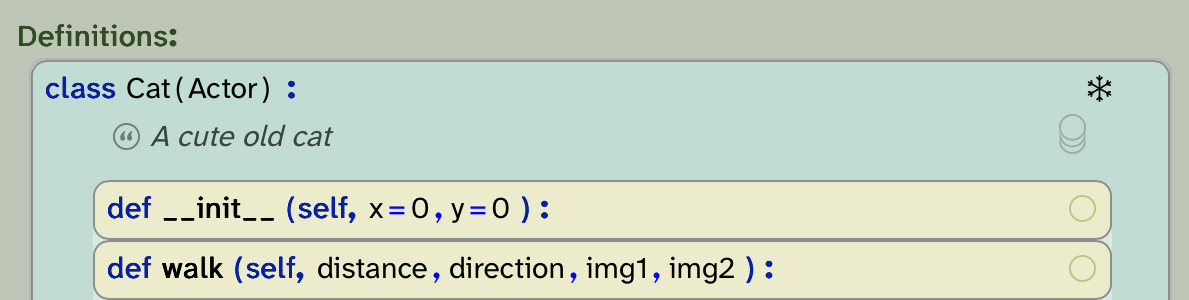
A frame is typically frozen in a project to indicate to the programmer that this part of the program is finished in its implementation, and is not intended to be further modified.
A typical case is a project provided to students with some helper functions implemented, which the students are expected to use, but not modify. Freezing these functions sends the signal that students are not expected to modify or understand its implementation, but can use it as a library function.
When frames are frozen, the folding control toggles only between the two header options (with or without comment). The implementation will not be displayed.
Note that freezing sends just a hint to the student how they are expected to use this code. It does not prevent the function from being modified. Any user can, at any time, unfreeze a function to study or modify its implementation. Thus, freezing provides an aid to viewing and using a project, not a security feature.
B.2. Project and file storage
-
open / save
-
local device vs cloud
-
pasting python code
B.3. Export / import
-
open Python programs
-
download as image
-
share function
B.4. Other
-
local language setting
-
teacher forum